The Idea
Why don‘t make something with water? Electricity and water seemed to be a perfect challenge – and it‘s august, so waterguns sounded quite pleasant. Therefore our personal group-challenge of the week was creating a new version of THE funfair-game classic: a –watergun– shooting gallery.
The Concept
There are several targets on the acrylic pane. Each target has a sensor, which checks if the water from the gun hit the target. The targets are highlighted with RGB LEDs, so we can implement some game logic and the player knows, which target he has to hit. Furthermore the sensors should have different difficulty, to make it a little bit more exciting.
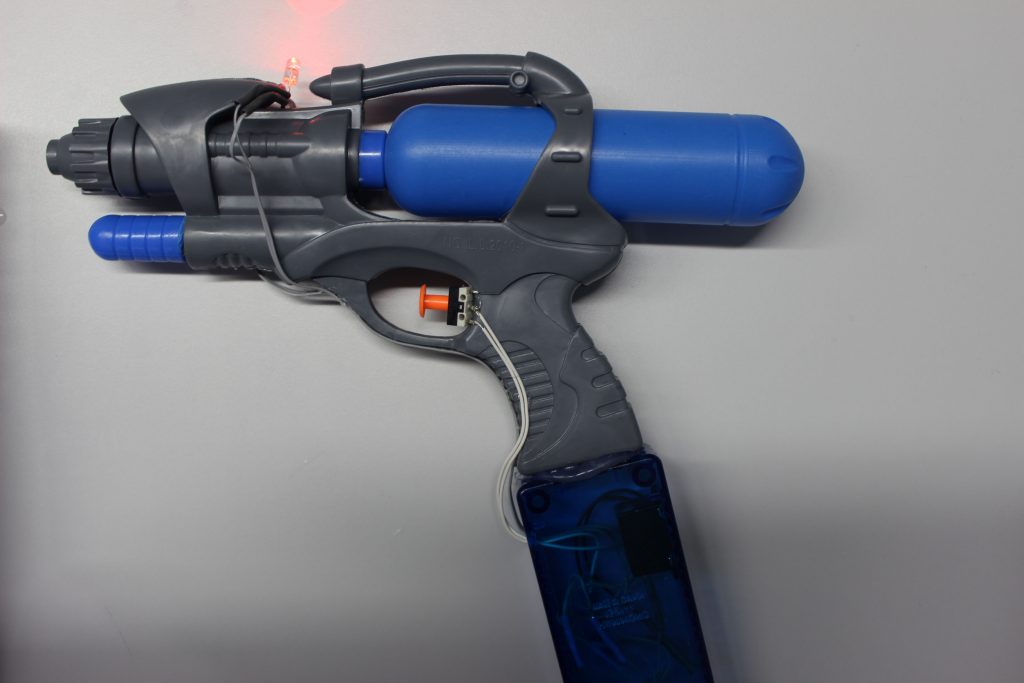
The gun is connected to the system. It has a click switch, which triggers a buzz sound and also counts the shots.
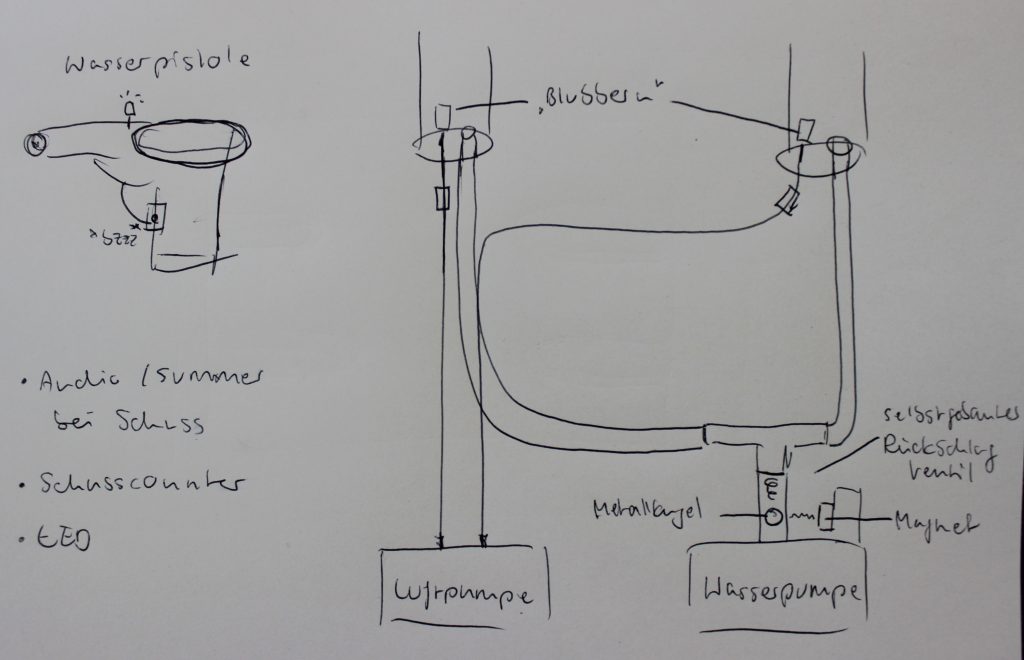
As a highlight and to stick with the “water-theme”, we planned to make a special and quite fancy score display. Two stable water tubes, where the waterstand increases with every hit. Aditionally, the water inside bubbles more an more the better you play.
First quick sketch
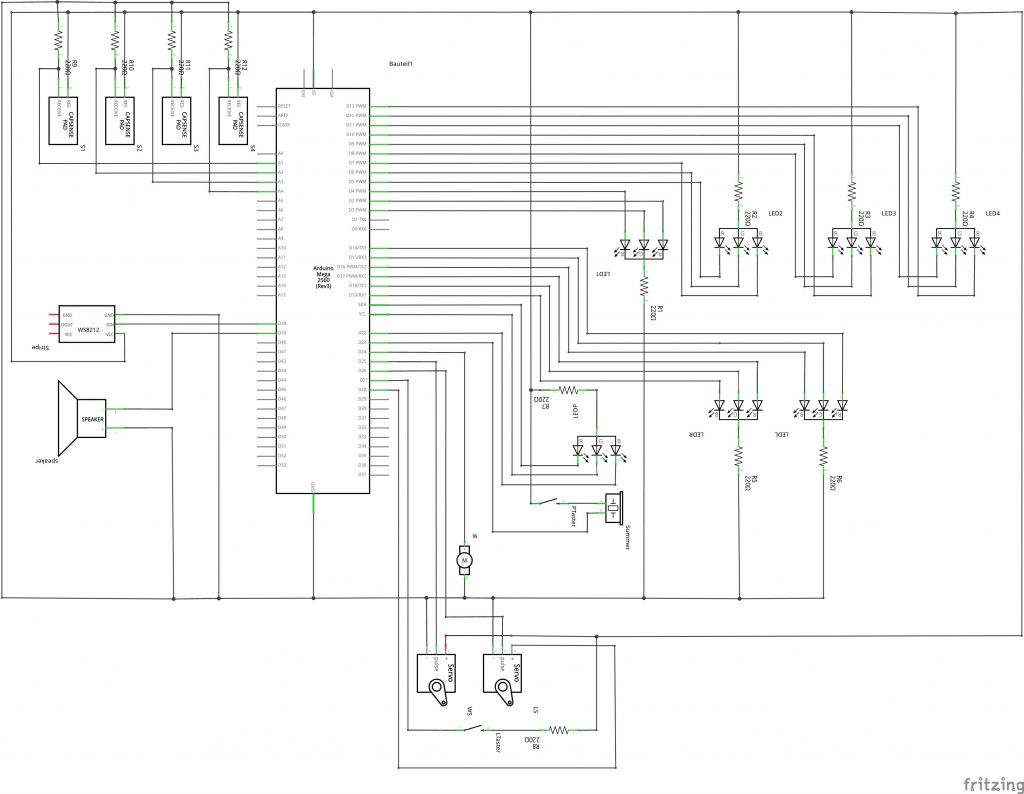
Circuit Diagram
Modified Watergun
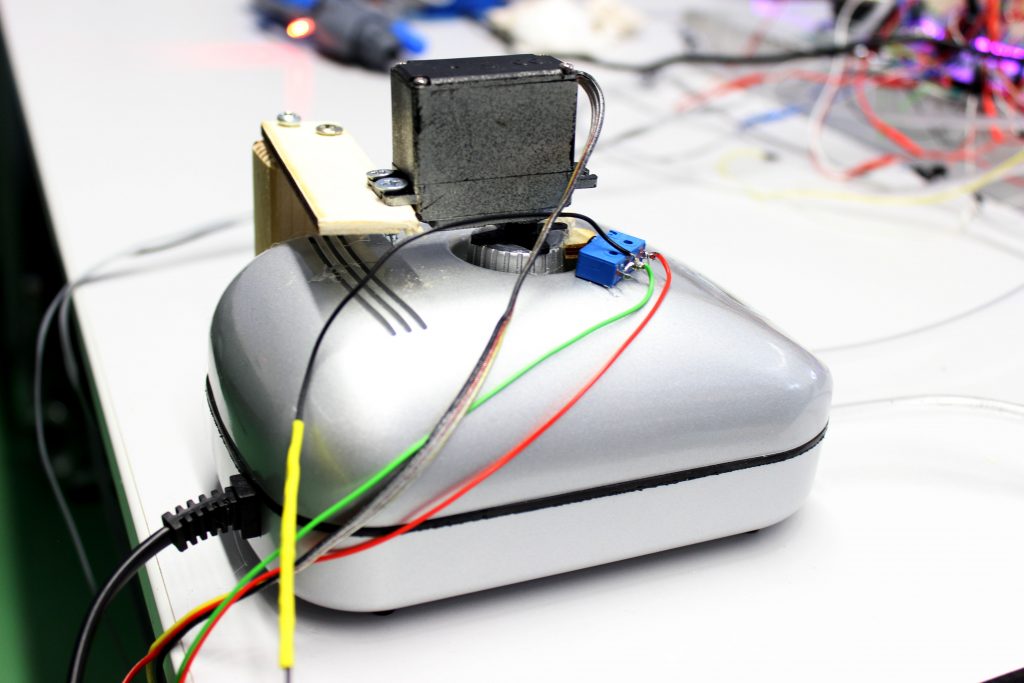
Servomotor on the airpump to control air supply for the score-display.
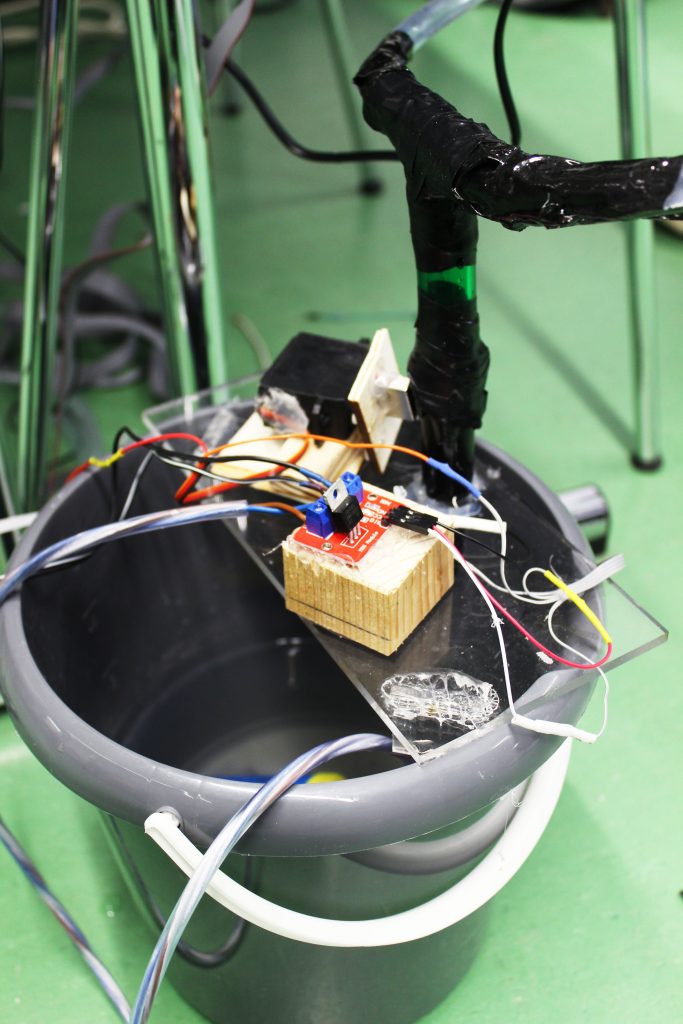
Self-constructed check valve to control water supply for the score-display: metalball inside a tube, servomotor with magnet on it keeps ball up when it’s rotated beneath the tube.
The Look
Something from outer Space. As we had the possibilty to do acrylic glass engraving during the seminar, we wanted to create some “80‘s space look”. We tested around, how LEDs and acrylic glass work together and found out: engraving plus LED makes a great effect. The light breaks through the whole transparent pane, especially on the engraved places which makes them appear colored.
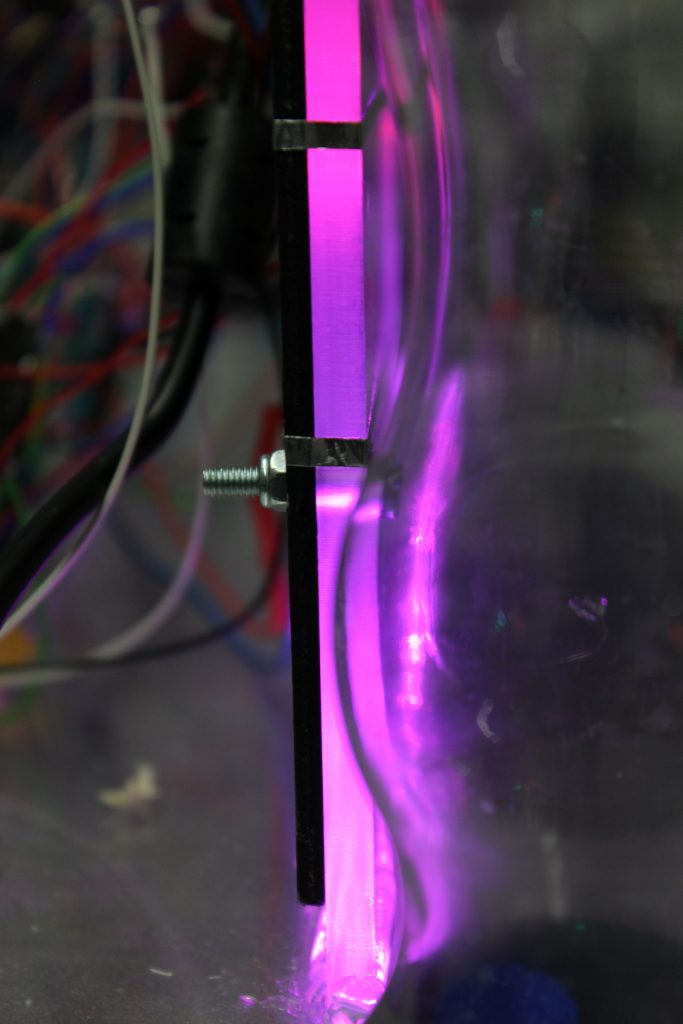
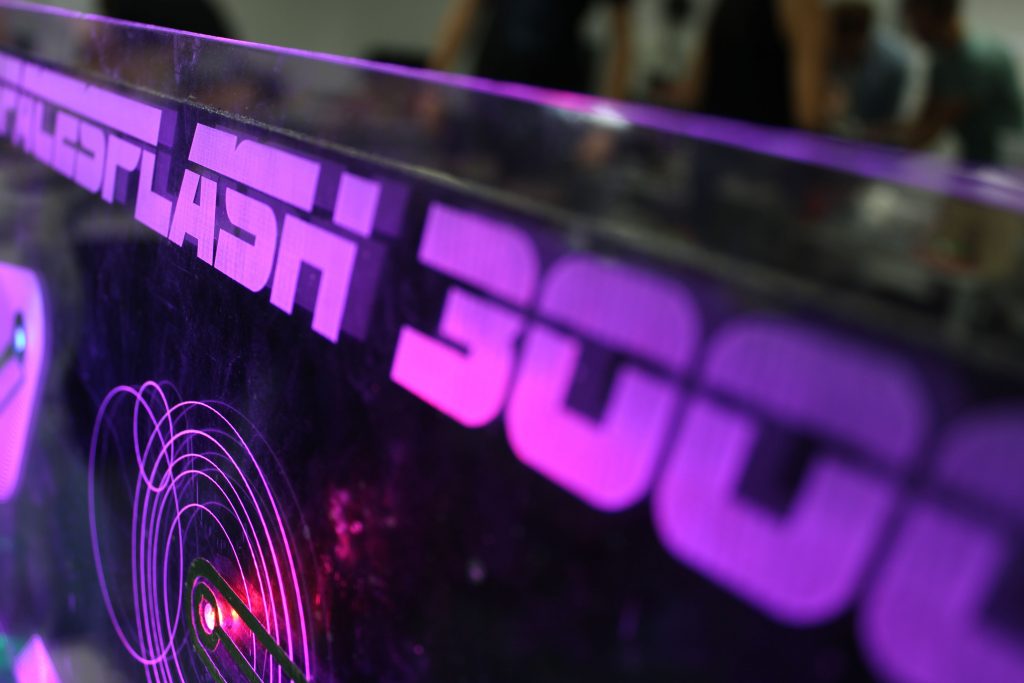
Light effects
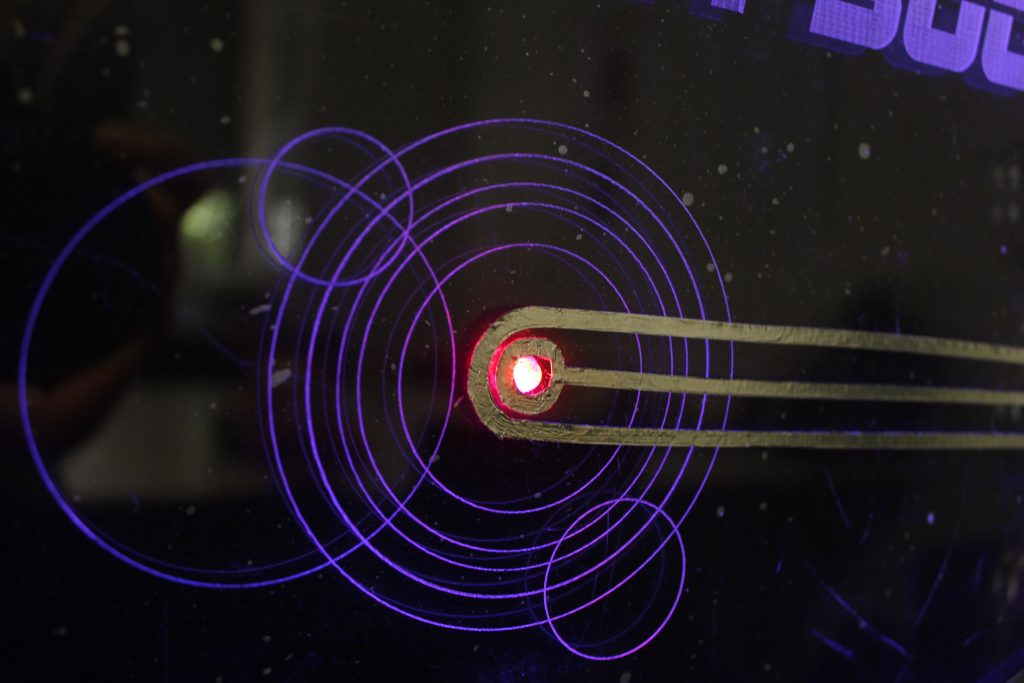
Sticky alufoil on top of targets to check hits
We added a black scacey background, so the aims were more visible and the light effect came out quite strong.
Parts List
- Watergun
- Acrylic glass
- Wood (box)
- Water pump
- Air pump
- 2 plastic cups (thin, high)
- 7 RGB LEDs
- LED stripe
- Sticky alufoil
- 2 watermisters
- Buzzer
- Strong magnet
- Metal ball
- 2 servo motors
- Many tubes
Quick Conclusion
1. LEDs and acrylic Glass match greatly.
2. Prototyping with water needs time.
- Testing is way more more laborious and difficult. Everything has to be done more carefully, because water can destroy hardware items / is another error source.
- Making everything waterproof isn‘t as easy as we thought first and needs some experience.
3. Bringing all seperate parts together is the biggest challenge in protoyping.
Frankly, we underestimated point 2 and 3 a little bit. And in the end some parts didn’t work as we wished. But we created a fancy looking, in some parts upgradeable (and that’s what “Skechting with Hardware” is about) prototype, we are very happy with.

